Getting Started
Accessing the Configuration Page
After clicking the 🧩 shaped button in the upper right corner of your browser, a list of your extensions will pop up.
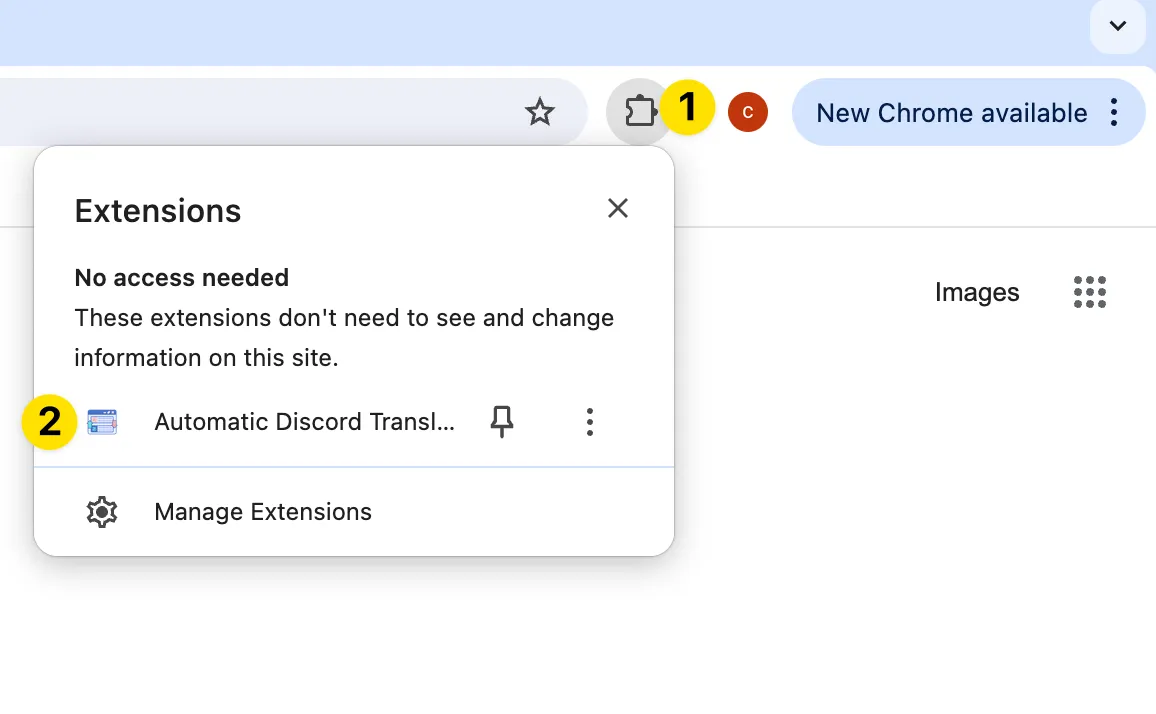
Find the installed extension in the list; here, we will use the Discord extension as an example. (By clicking the 📌 button next to the extension, you can pin the specified extension for easier access later.)
Click on the corresponding extension name, and a popup window for the extension will appear.
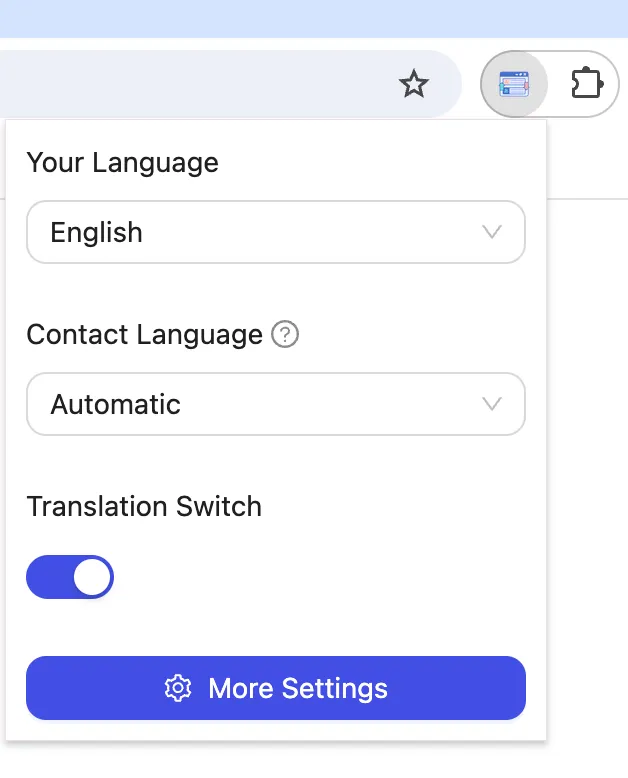
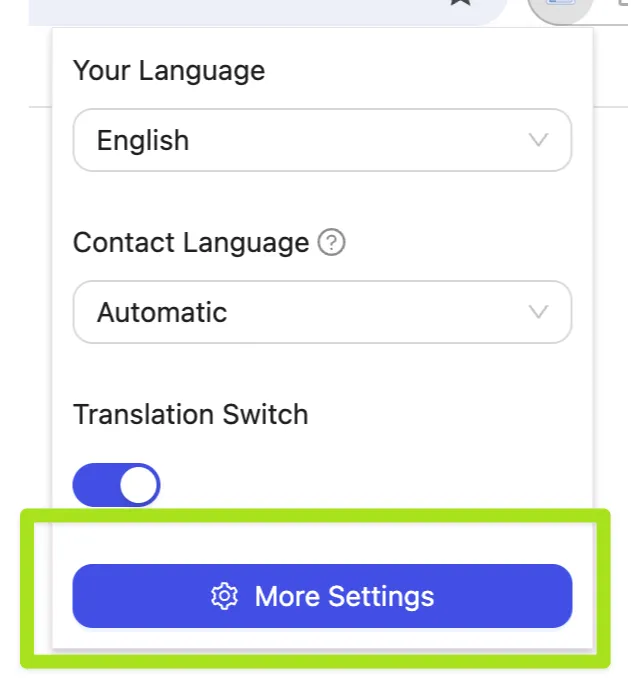
This is the quick configuration interface, where you can set up some commonly used configurations. The specific meanings of these configurations can be referenced later in the text. Now, we need to click “More Settings” to open the complete configuration page.
Login and Registration
Once you open the configuration page, you can register and log in, although this is not mandatory. Registration is only required if you need to use more advanced features.
If you are using the Chrome browser, you do not need to register; you can log in directly using Google authorization. Click the “Sign in with Google” button on the right side of the configuration page to proceed with Google authorization login.
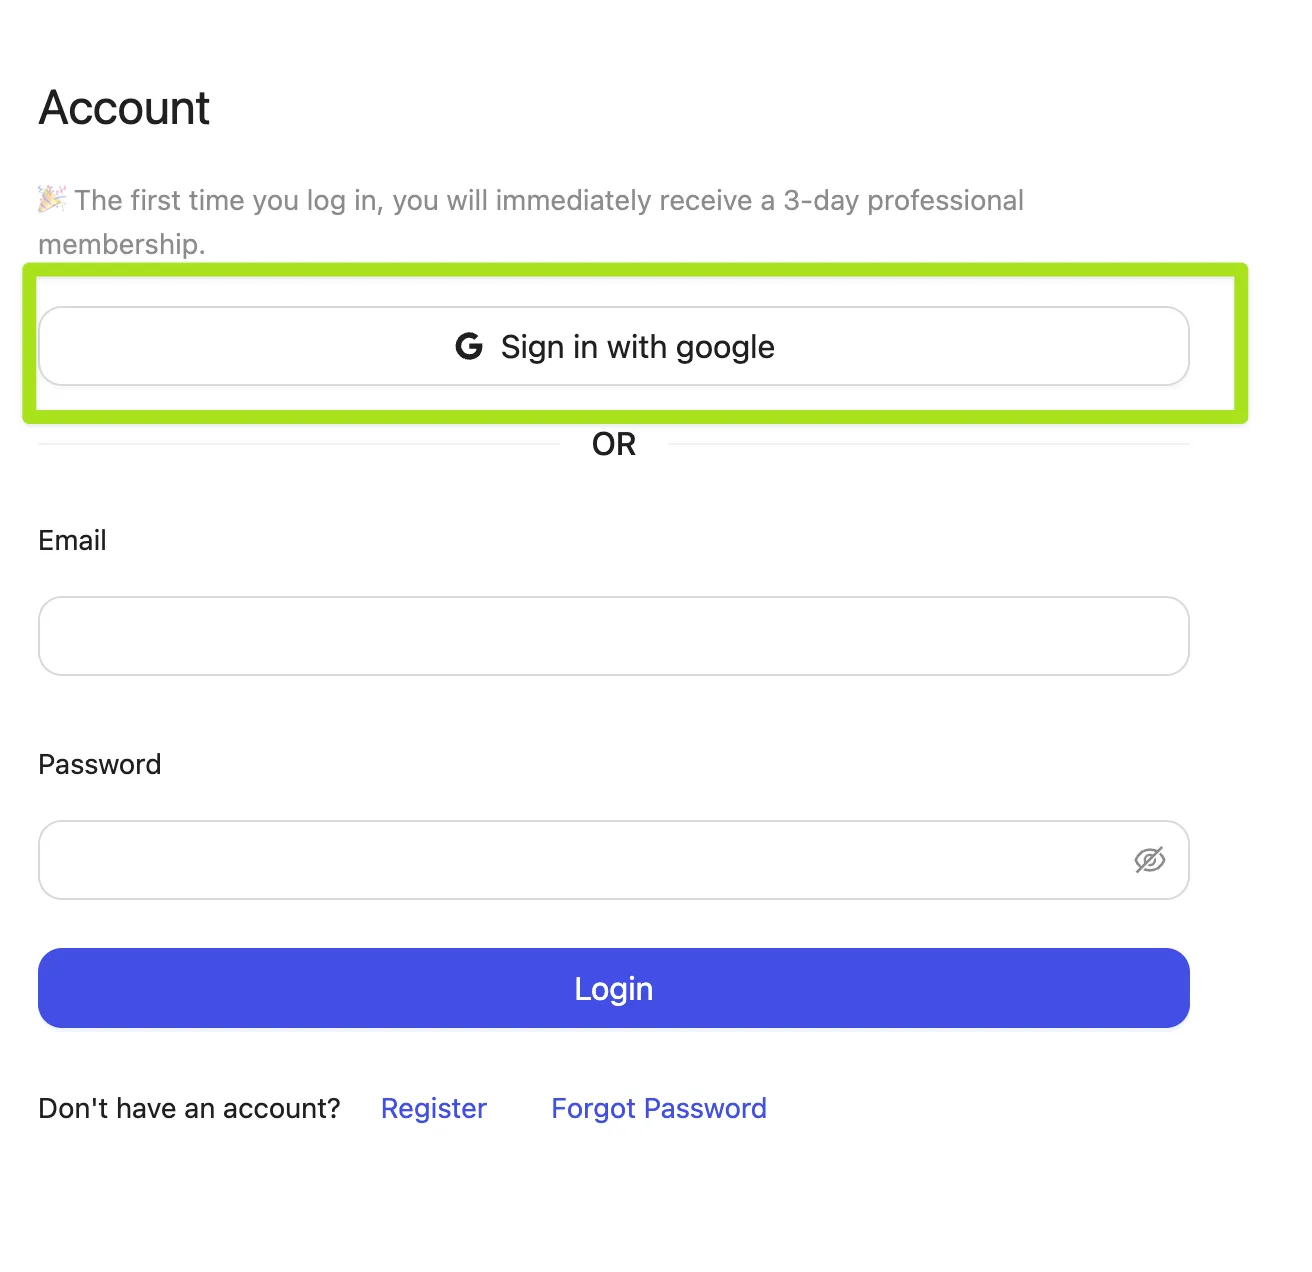
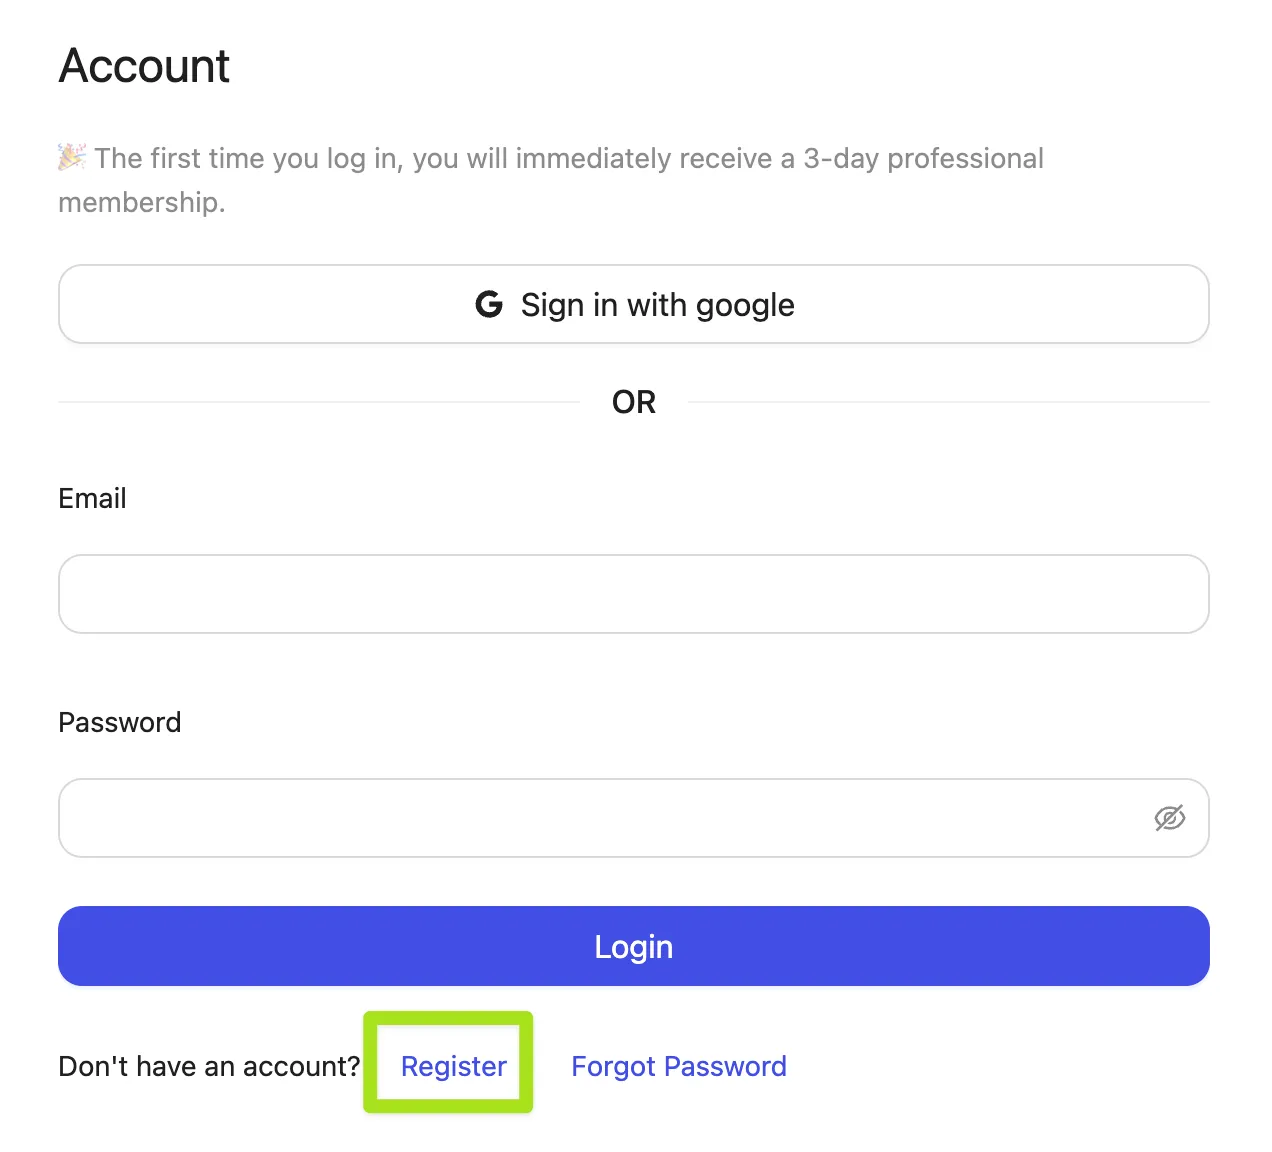
If you are using Edge, Arc, or other Chrome-based browsers, you will need to log in using your email. First, click the “Register” button to enter the registration interface.
-
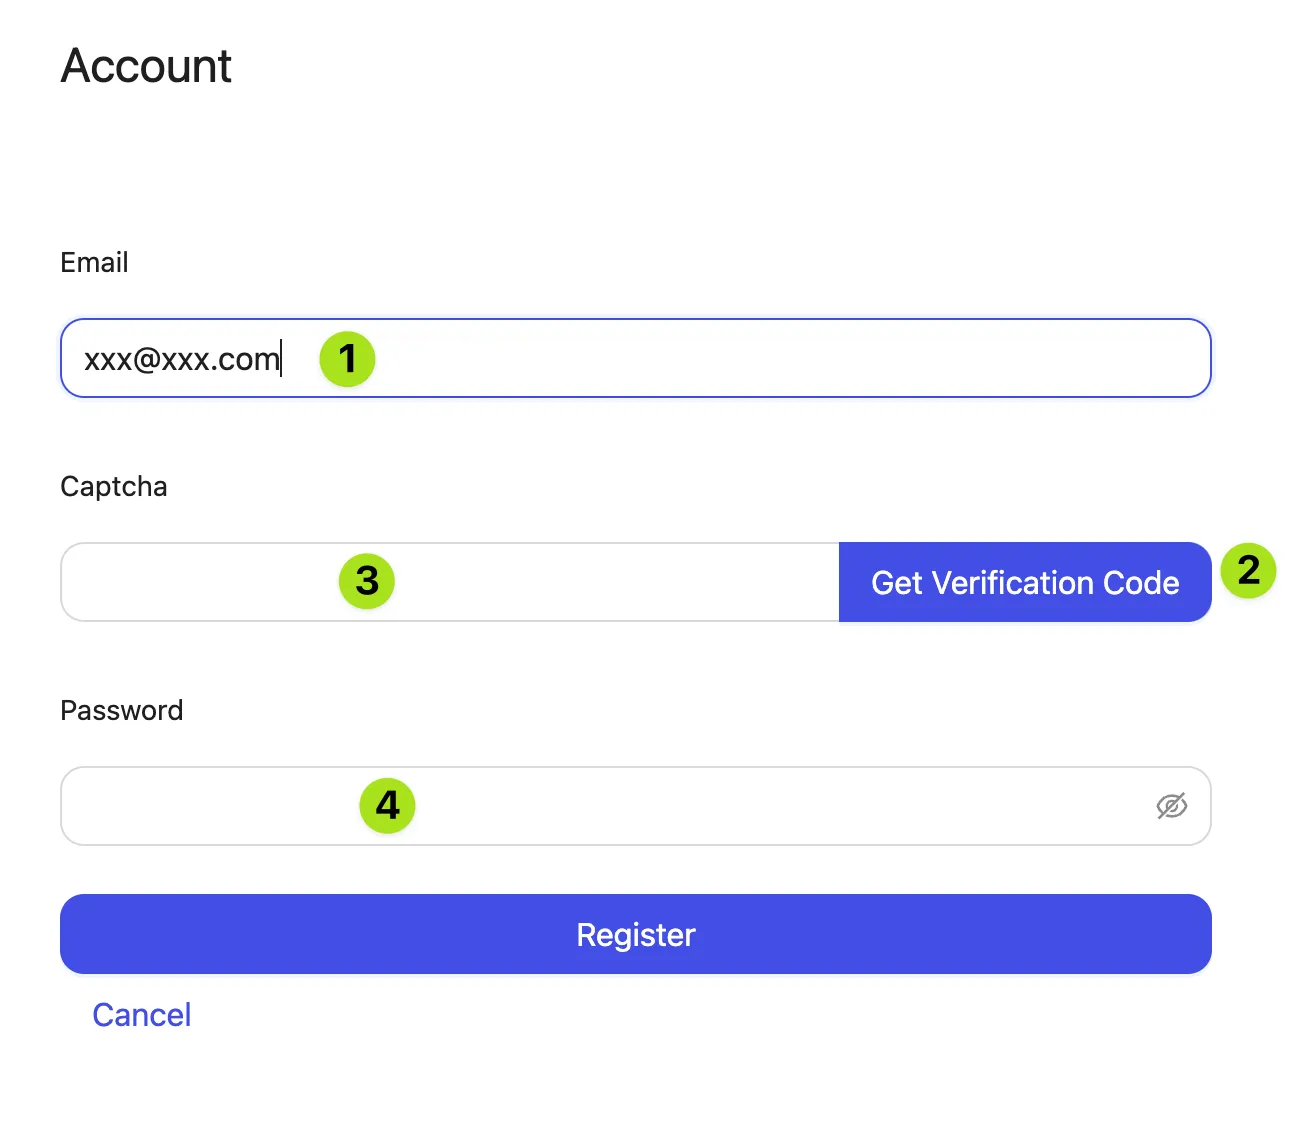
Enter your email address.
-
Click the “Get Verification Code” button to receive a verification code email (if you do not receive it, check your spam folder).
-
Fill in the received verification code in the “Captcha” field.
-
Set your password.
Finally, click “Register” to complete the registration.
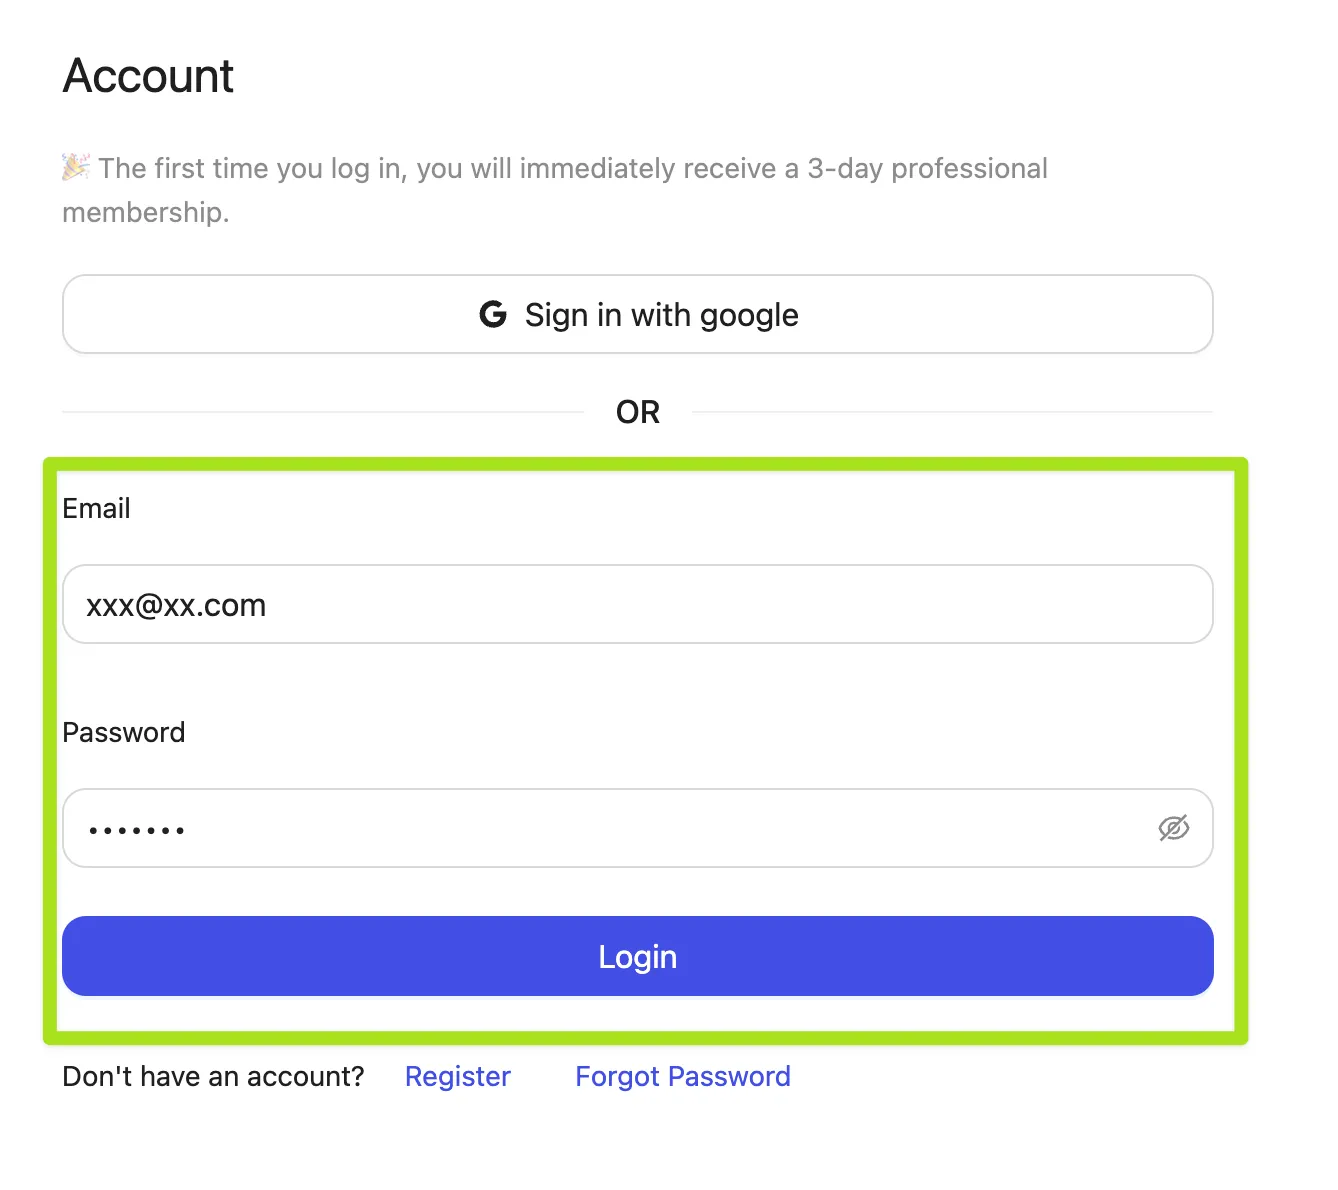
After successful registration, you can log in using your email and password on the login page.
Basic Configuration
Your Language

This configuration controls the language into which messages sent by your contacts will be translated. Typically, this should be set to your native language.
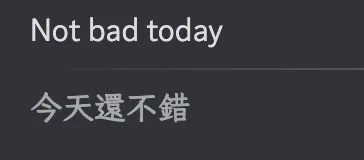
For example, if I set it to “Chinese Traditional,” it will display like this:
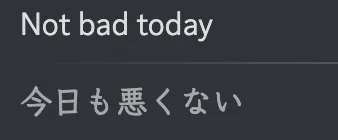
If I set it to “Japanese,” it will display like this:
Contact Language
This configuration controls the language into which your sent messages will be translated. For instance, if you set it to “Japanese.”

First, in the input box, type the text you want to send, such as “hello,” and then click the translate button. You will be pleasantly surprised to find that the text in the input box has changed to Japanese.

Send Immediately
This configuration controls whether to send the translated message immediately. If this option is not enabled, when translation is triggered, the extension will only replace the input content with the translated content, but you will still need to send it manually. When enabled, it will directly translate and send, making the process more efficient.
By this point in the tutorial, you should be able to use the extension at a basic level. To avoid delaying your use of the extension, we will list advanced configurations in other articles, allowing you to progress gradually. Of course, if you encounter any issues during use, feel free to contact us via email or online customer service. Thank you for using our service.