How to Translate Sent Messages?
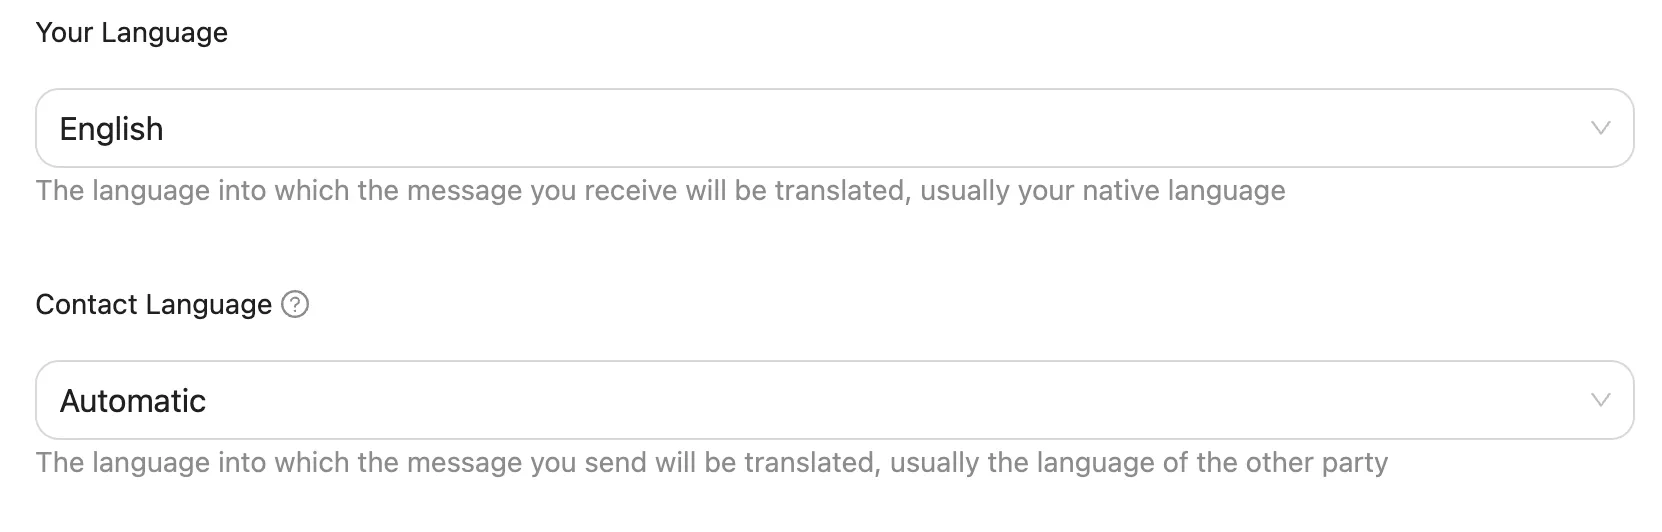
Change “Contact Language”

This setting controls the language into which your sent messages will be translated. For example, if you set it to “Japanese.”

First, in the input box, type the text you want to send, such as “hello,” and then click the translate button. You will be pleasantly surprised to find that the text in the input box has changed to Japanese.

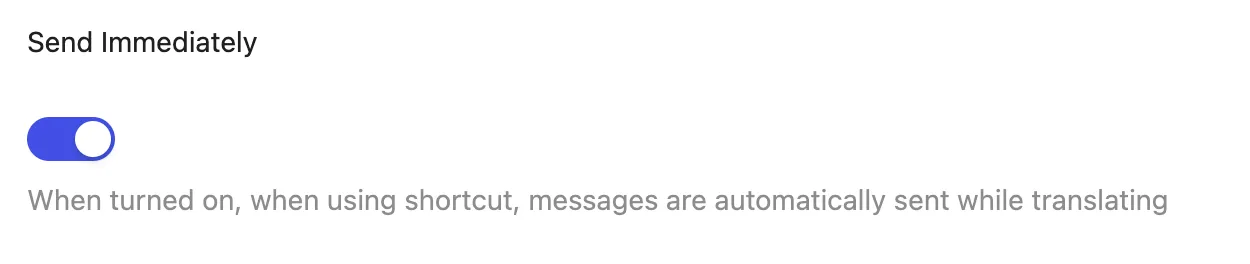
Enable “Send Immediately”
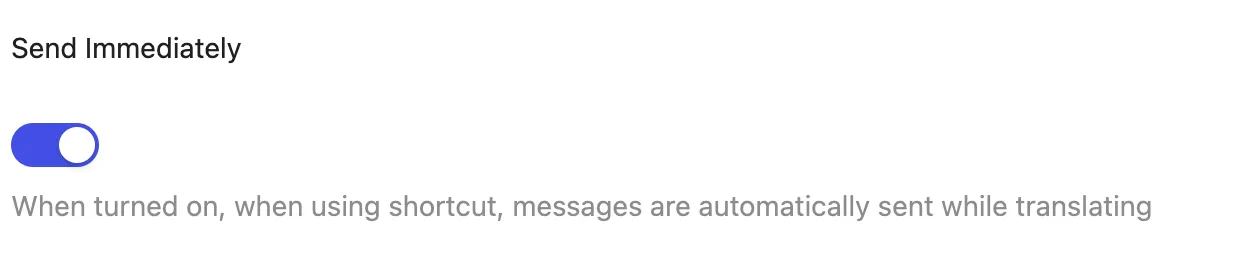
This setting controls whether to send the translated message immediately. If it is not enabled, when translation is triggered, the extension will only replace the input content with the translated content, but you will still need to send it manually. When enabled, it will directly translate and send, making it more efficient.
Enable “Translation Preview”
When “Send Immediately” is enabled, the message will be sent immediately. For important communications, you may want to manually check the translated content; this is where the translation preview feature comes in handy.
When this feature is enabled, the translated content will be displayed in real-time above the input box.

Currently, my configuration is as follows:

When I type “hello,” the result translated into Japanese will be displayed in real-time above the input box.
You may also notice a “Click Send.” button on the right side of the previewed message; clicking it will also send the translated message.
Set Shortcut Keys
If you want to send messages faster, you can set a shortcut key, so you don’t have to keep moving the mouse.

Click the shortcut key or the ⌨️ icon to trigger the shortcut settings.

When “Please Enter Shortcuts…” appears, it indicates that recording is in progress, and you can now input the shortcut key you want to use.